thoughts
✳︎
images
✳︎
fascinations
✳︎
nuisances
✳︎
musings
✳︎
thoughts ✳︎ images ✳︎ fascinations ✳︎ nuisances ✳︎ musings ✳︎

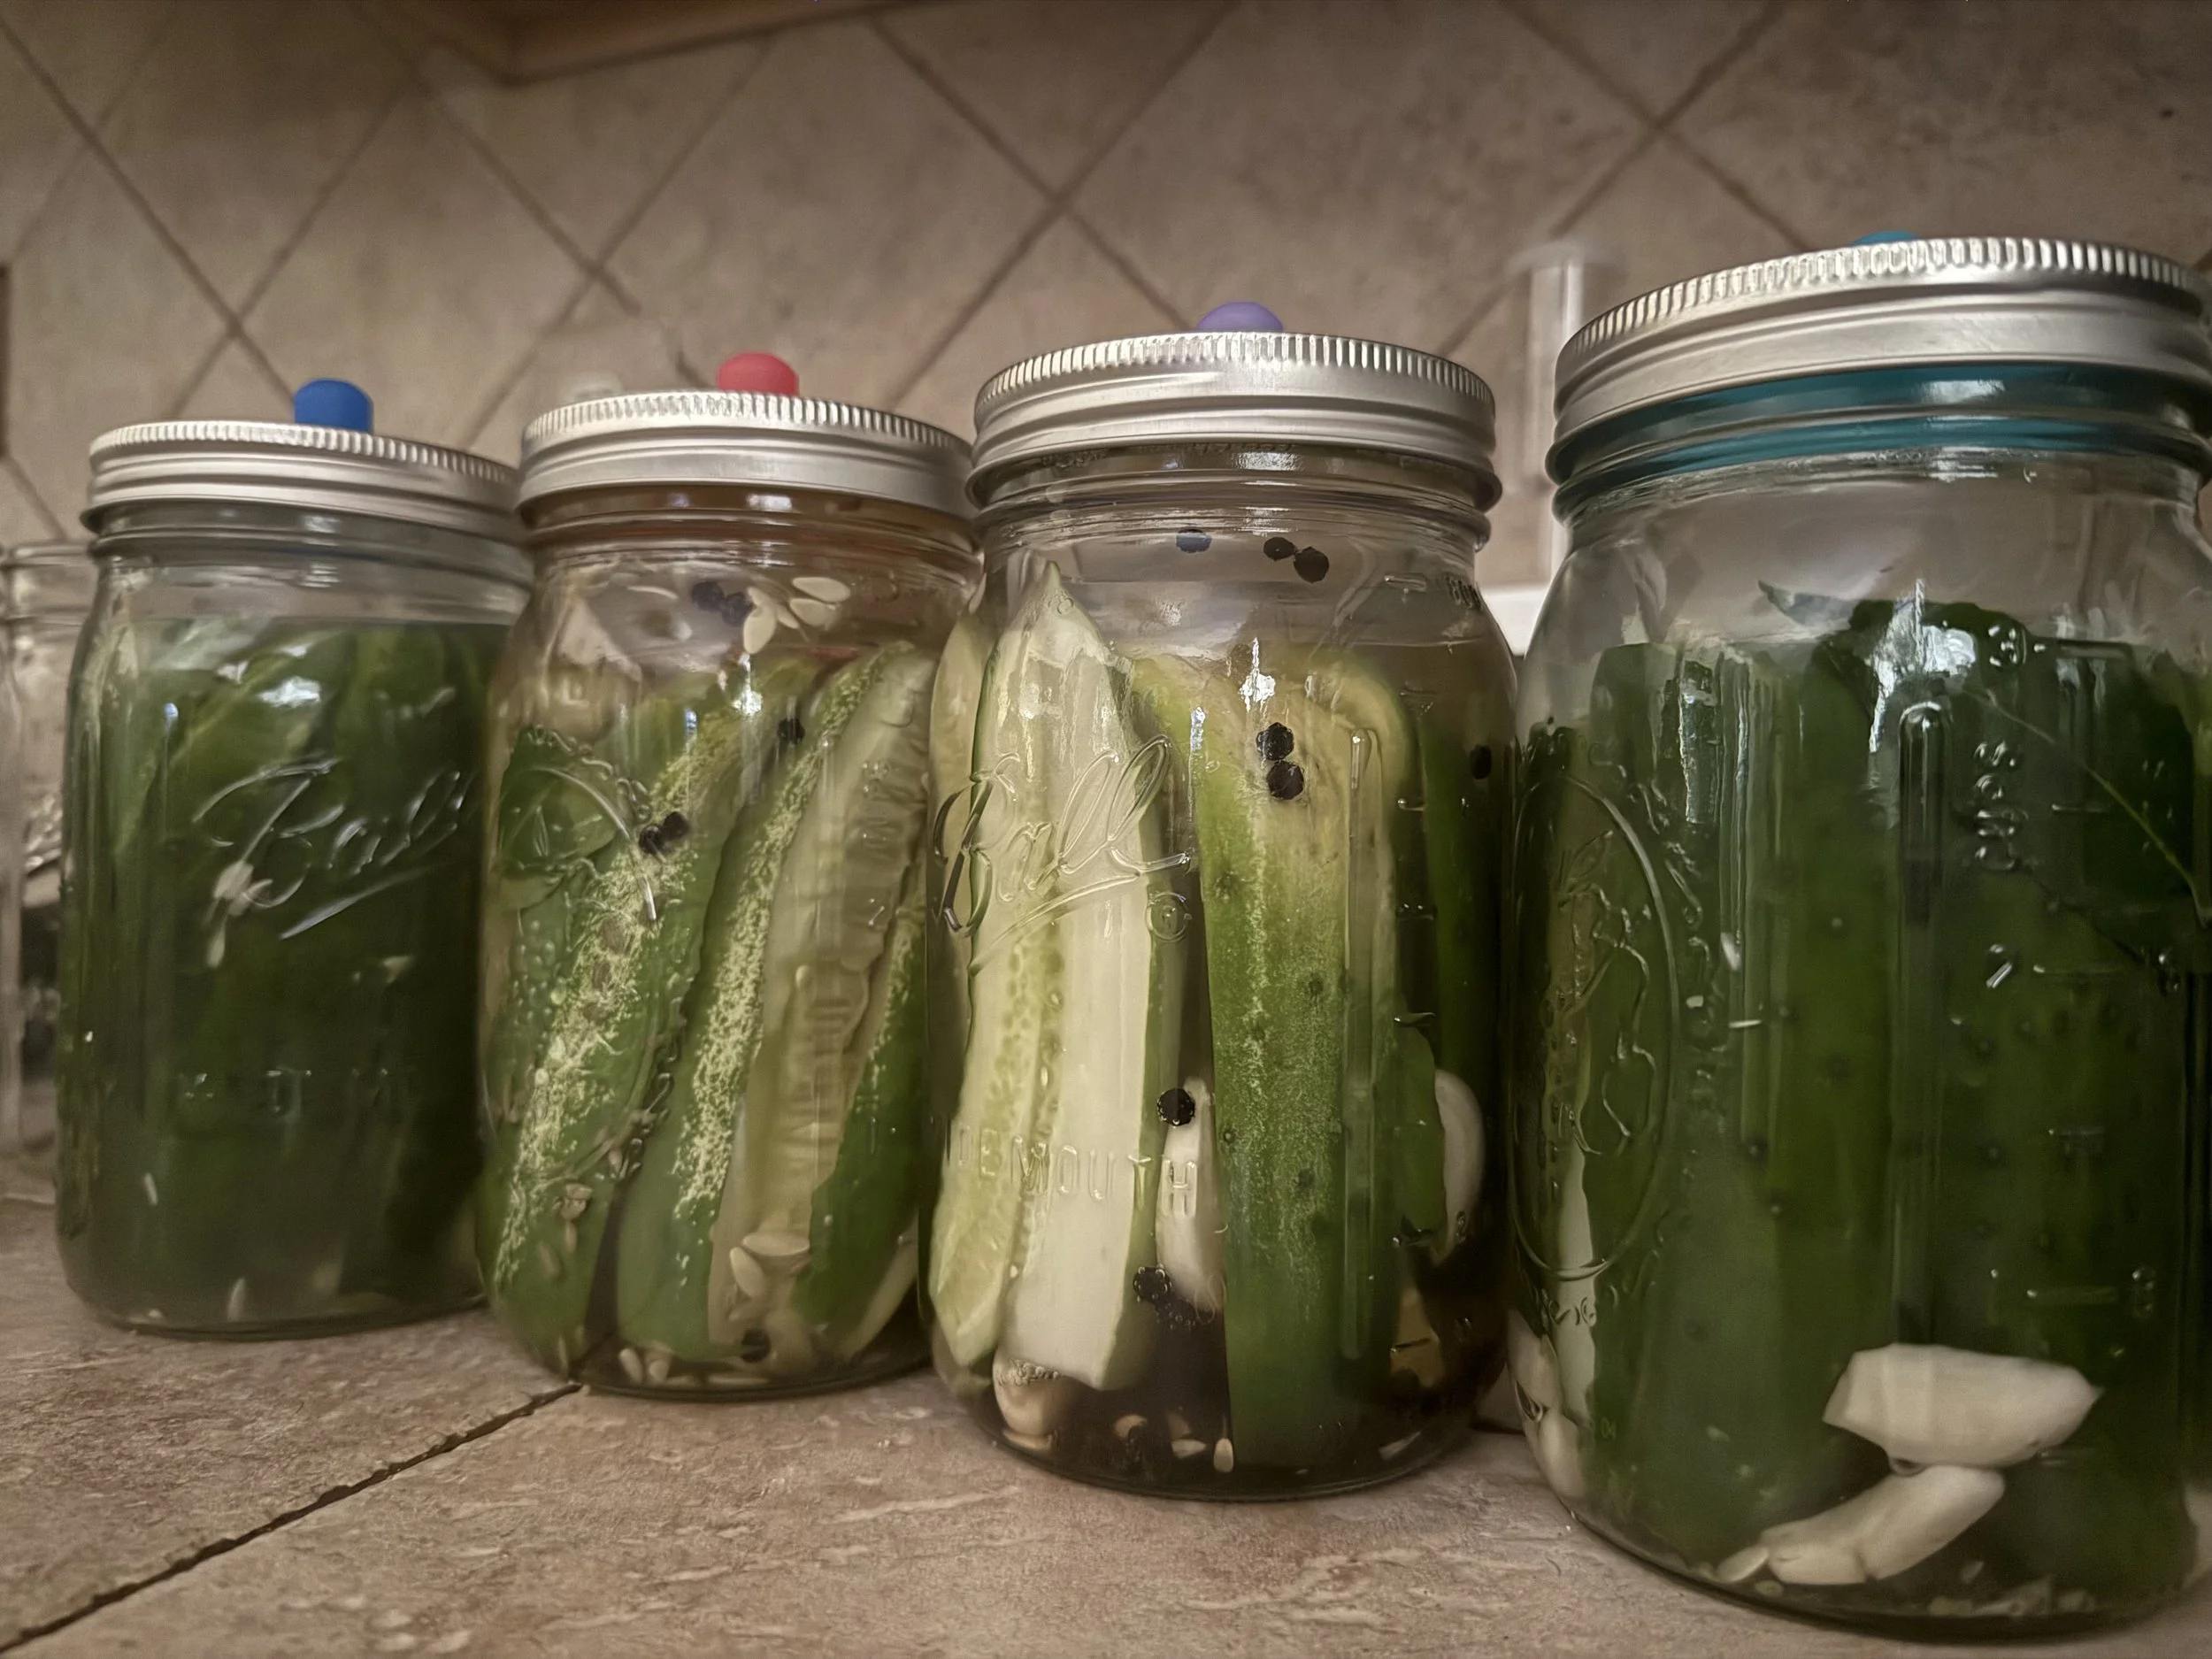
Fantastic Fermentables
This summer has brought insanely warm temperatures, a ridiculous amount of rain, and cucumber plants that simply will not stop producing. My zucchini, on the other hand, were doing fine before they were taken out by either…
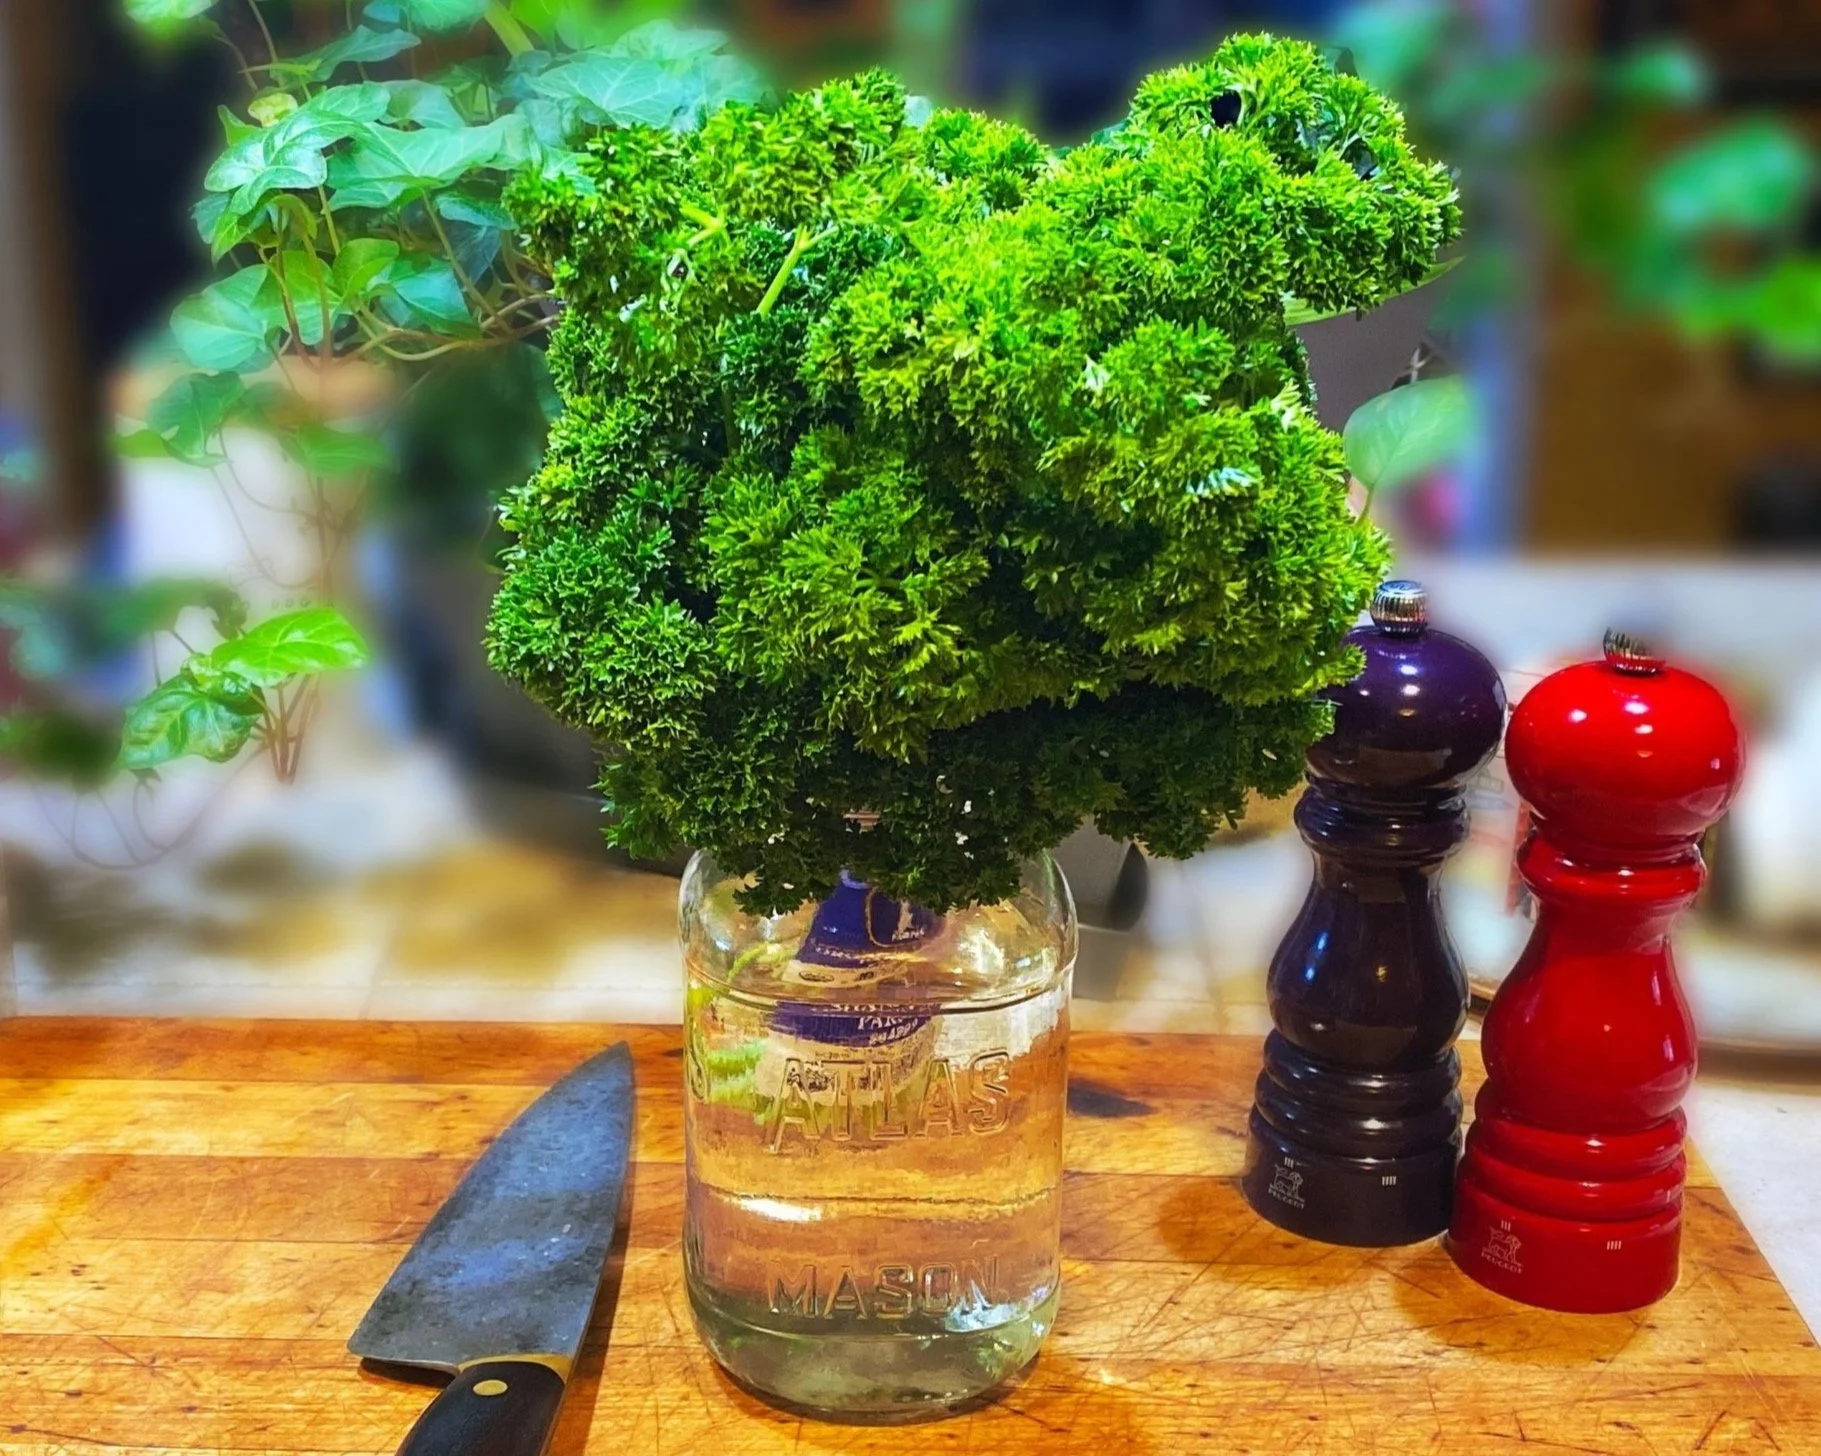
I Beg Your Parsley
I am fortunate enough to be able to grow a lot of the herbs I use to cook and eat. But you know, sometimes I can’t. Or I just don’t feel like it. And off I go to buy fresh herbs from my local farmer’s market or from the French Broad Food Co-op. (Click here to learn more about food co-ops and find one near you.)
So I get a big, beautiful bunch of parsley/cilantro/dill/etc., and it’s almost always…