thoughts • images
A PIT STOP
fascinations • nuisances
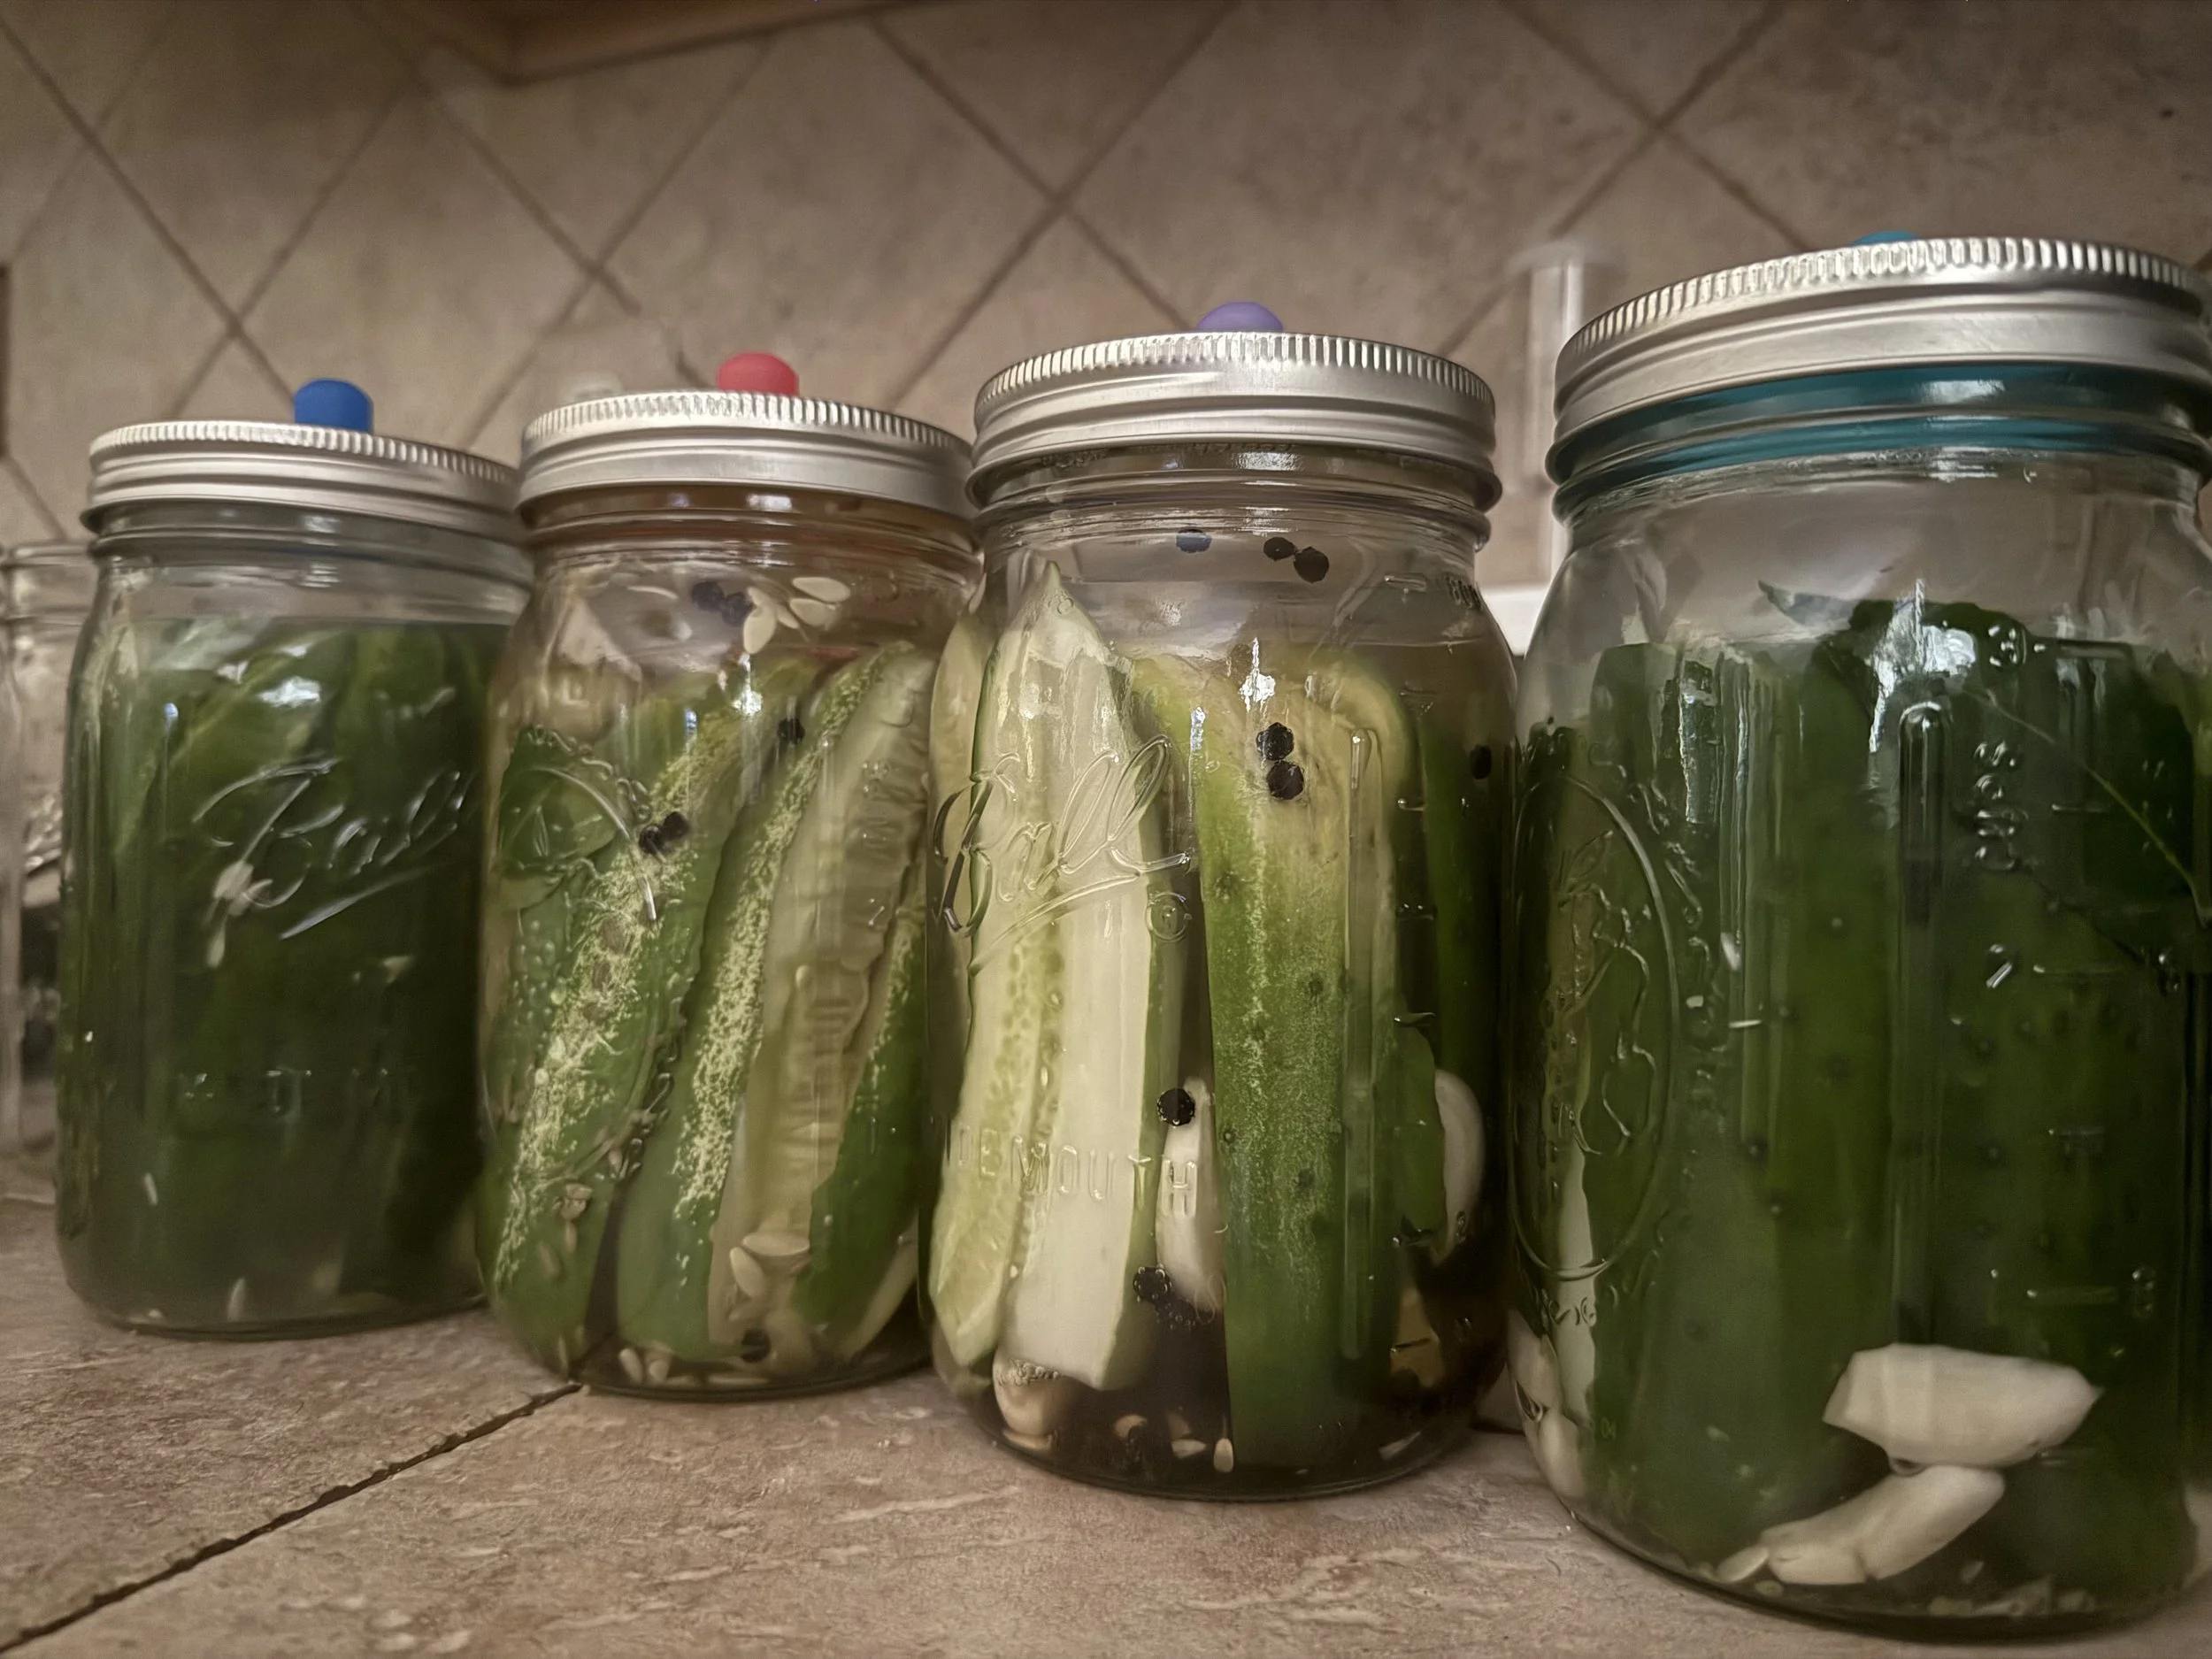
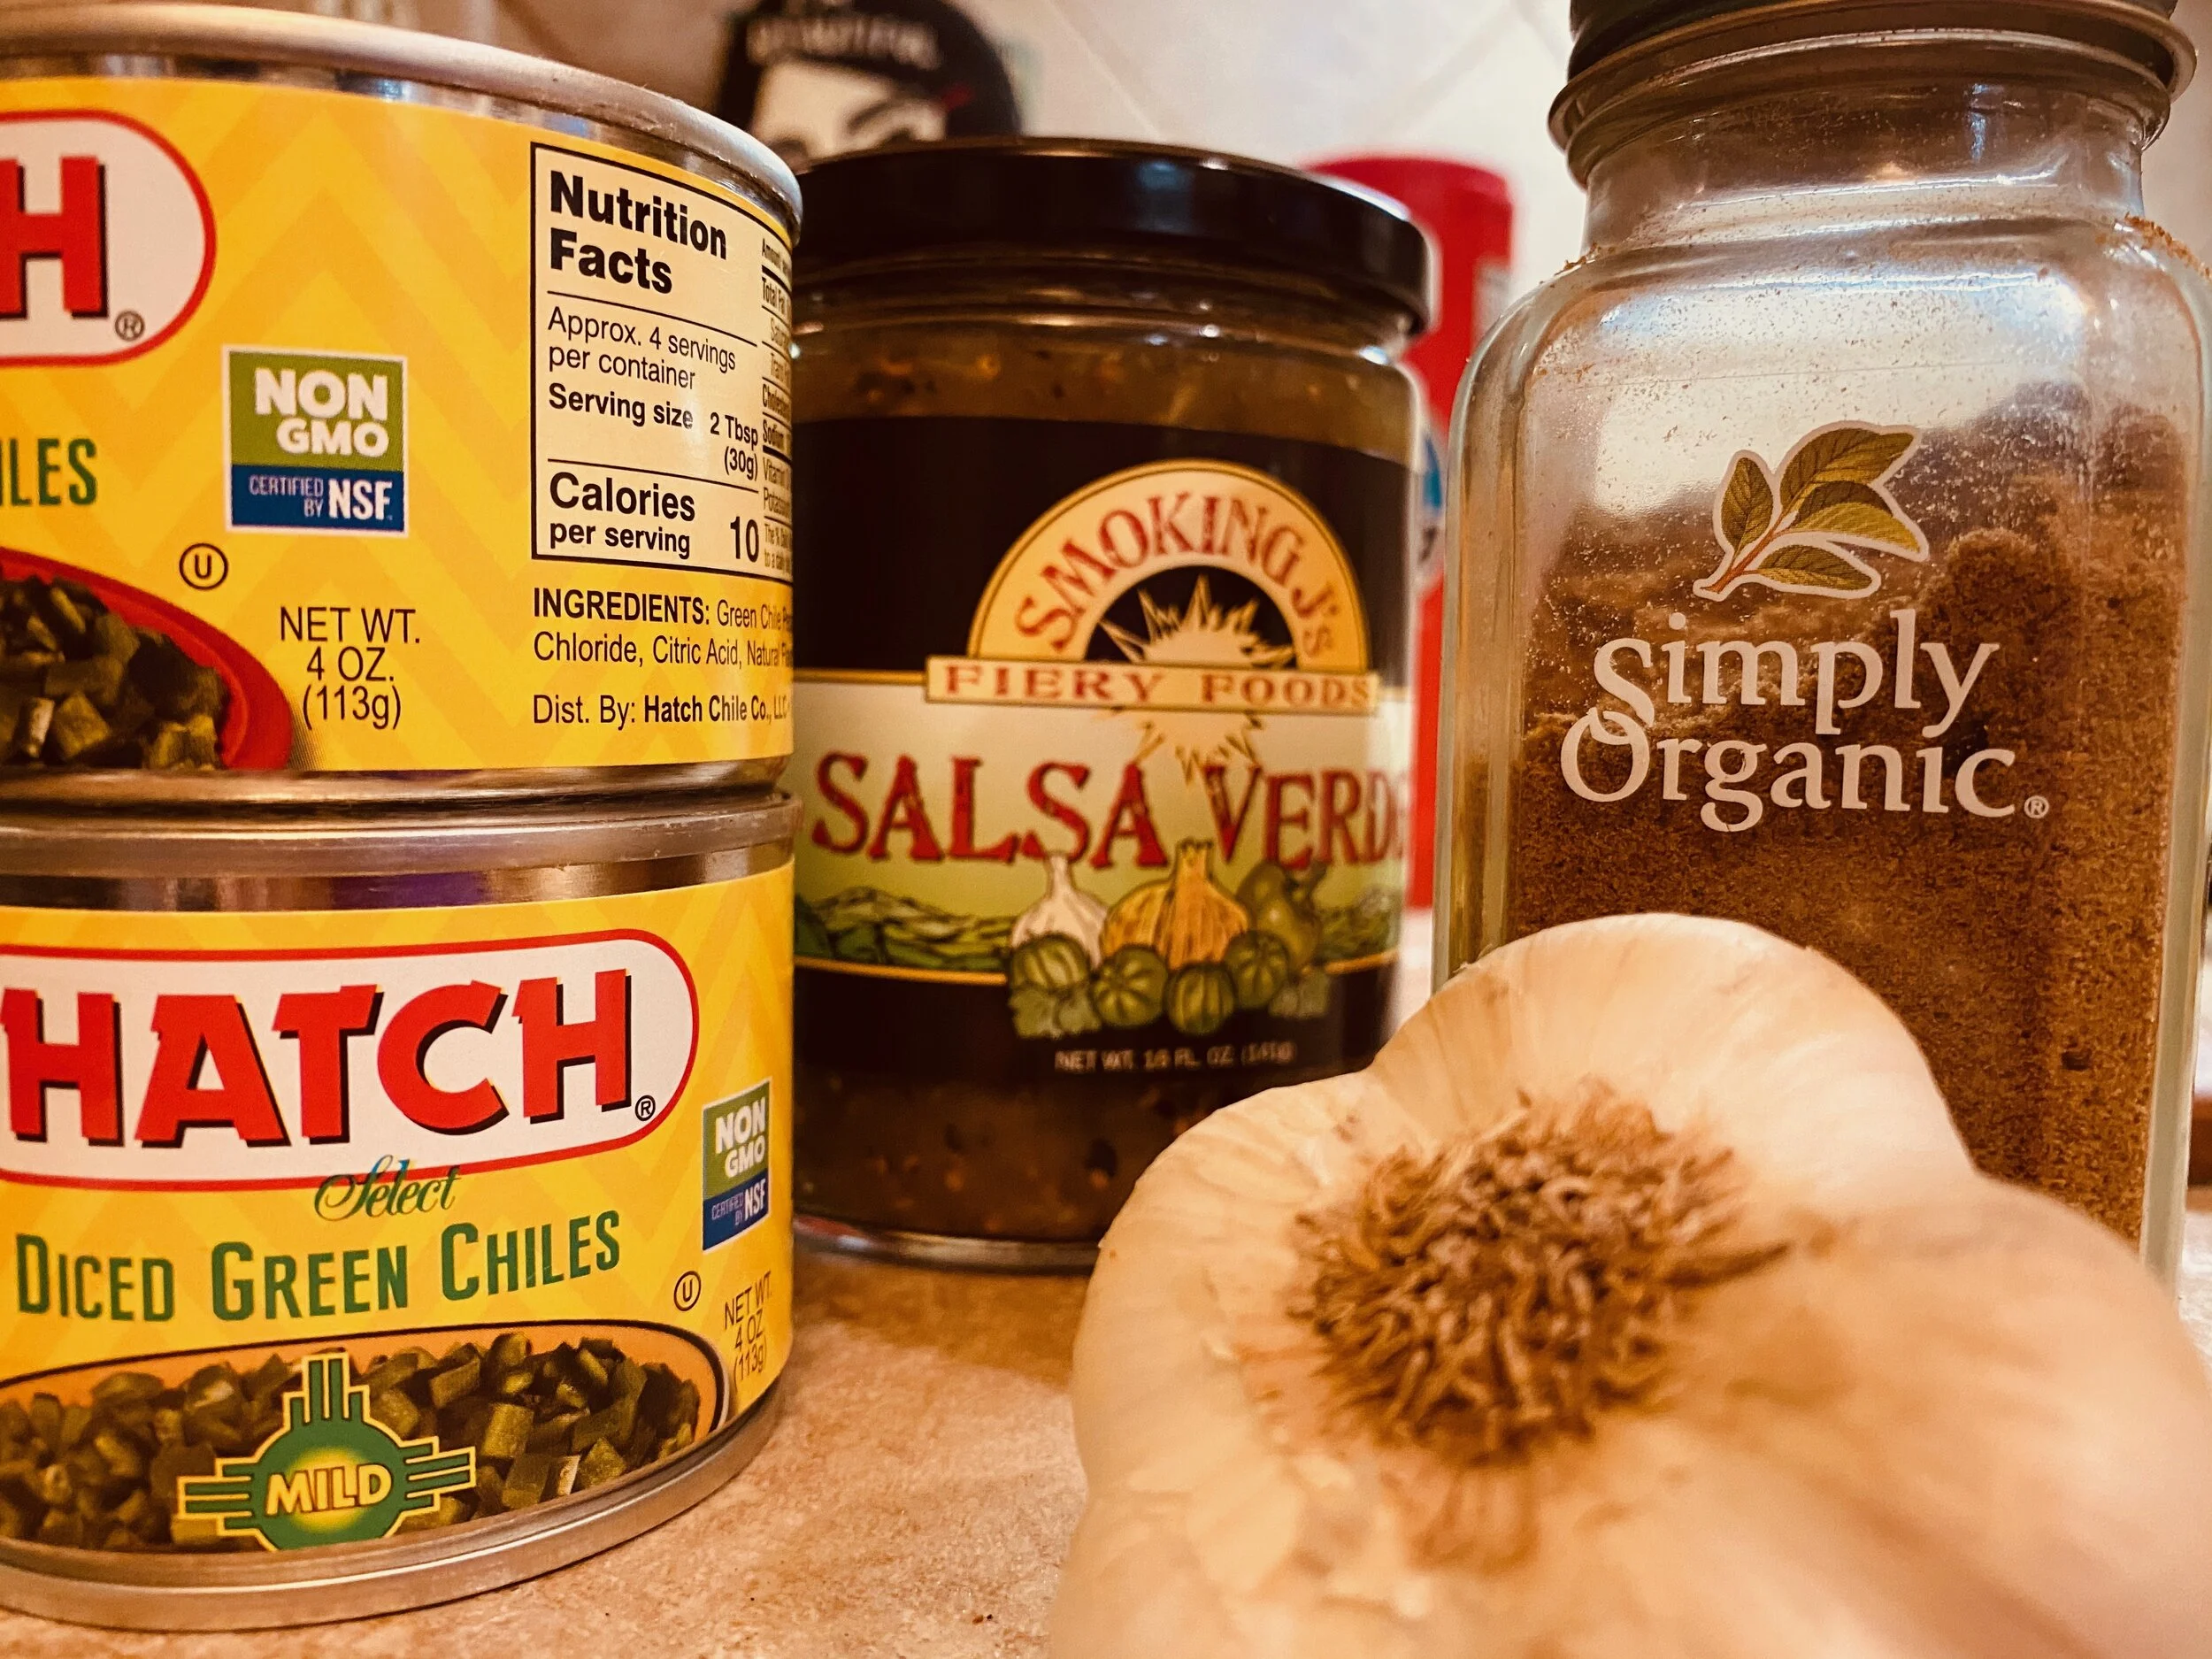
Fantastic Fermentables
This summer has brought insanely warm temperatures, a ridiculous amount of rain, and cucumber plants that simply will not stop producing. My zucchini, on the other hand, were doing fine before they were taken out by either squash vine borers or squash bugs…or both. “Squash bugs…” I feel there should be a more original name for the insect known formally as anasa tristis. I mean, come on, “squash bug…”? Really? Feels a bit taxonomically lazy. But back to my cukes.
This month is not the first—nor will it be the last—time I write about my favorite kitchen container, the mason jar. So get yours ready. Some folks want shelf-stable pickles that can stay in your pantry for at least a year. That requires water-bath canning. (“Canning” in jars still sounds odd to me. Why not “jarring” in jars? Why don’t we ever can in actual cans?) However, here’s an easier and quicker method to keep that sour, crunchy goodness.
(NB: This article contains affiliate links. If you click on one of these links and purchase anything, I may receive a small commission at no additional cost to you.)
What You Need
Mason jars (what else?)
Water
Cucumbers
Salt
Yes, that’s it.
There are some other ingredients you can add, but this is really all you need to get pickling. Actually, you’re fermenting, not pickling. But you are making pickles. Try not to overthink it.
What To Do
Wash the cucumbers and cut off the blossom end. (I cut off both ends.) You can slice them if you’d like. I have to because most of my cucumbers rival the size of a Miata. You can slice them into discs or just quarter them lengthwise as in the picture above.
Stuff them into a jar and leave about 1 to 1 1/2 inches of space at the top. Shove those suckers in there as tightly as possible. You can add garlic, peppercorns, dill, mustard seeds, lots more garlic if you’re me... Some bay leaves will help keep the pickles crisp. (Chemistry. Don’t ask.)
Prepare your brine of water and salt. Your water should be filtered or, even better, distilled. Your salt can be sea salt, Pink Himalayan salt, Kosher salt… but NO iodized salt. I’m not going to get into the “why” here, just don’t.
Brine concocting involves some math. (I know, I know.) Okay, I’ll do it for you. A roughly three-percent brine is made by adding 30 grams of salt to 1000g of water. If you do grams, not cups, get a digital scale. You’ll thank me for it later when I tell you how to make sourdough English muffins.
A roughly four-percent brine would be 40 grams of salt in 1000 grams of water. Any guesses what a five-percent brine would be? You got it. Many recipes instruct you to account for the weight of the vegetables when calculating how much salt to use, because vegetables are mostly water. (So adding a three-percent brine to a jar with cucumbers will result in a weaker brine because the cuke water dilutes the brine.)
The strength of brine can vary, but I like around 4 to 5 percent. Keep in mind: Not enough salt, and you let the bad bacteria thrive along with the good bacteria. Too much salt, and you kill off the good bacteria along with the bad bacteria. I know that sounds judgy. What did the bacteria ever do to you? Nothing, if you ferment correctly. After all this yakety-yak, how about you add 3 tablespoons salt to four cups water. Le Cordon Bleu says this is okay, so who am I to argue. Moi? Jamais! Sacre (cordon) bleu!
Pour the brine over the top of the pickles. You want the vegetables to be completely submerged. (If they encounter air, they will mold. Most of us dislike moldy pickles.) To do this, you can use weights specially designed for mason jars or simply stick a rock in a clean Ziploc bag and put it on top of the pickles.
Cover the jar. Gases will form as part of the fermenting process. (Hence the 1 to 1 1/2 inches of headspace you left in the jar, right?) There are special fermenting lids that allow for gases to flow out and nothing icky to creep in. They are not expensive but nor are they necessary. I do use them and I like the tops and weights over at Mason Tops. (See photo below.) If you decide not to use those handy-not-fancy lids, simply seal the jar and keep out of direct sunlight.
Open the lid once a day to allow gases to escape. Or put a the lid on loosely and place the jar in a bowl in case things get super active and bubble over a bit (because you didn’t leave enough headspace in the jar even though I told you you were supposed to).
The liquid will get cloudy. This is good. You will likely see little bubbles after a day or so. This is also good. After about five days, give your pickles a taste. If you like the flavor and the crunch, you’re done. Put a regular lid on them—or transfer them to another container—and stick them in your refrigerator.
These easy-peasy pickles will keep in your fridge at least six months and give your gut all kinds of probiotic goodness. However, they are not—wait for it—refrigerator pickles. That moniker is about as original as “squash bugs,” and that recipe will have to wait for now.
I love these fermenting weights and lids available from Mason Tops.
My Kinda Easy Sunday Chili Verde
Winter is for soups, stews, and chilis at my house. As a writer—and especially one on deadline—food prep on the weekend makes my work week much easier. Roast a chicken. Make bone broth. Make a big chili. Prep salad fixin’s for my lunches. And one of my favorite make-ahead meals—that also takes advantage of some awesome local Asheville producers—is chili verde.
Here’s how I kinda-sorta do it, more or less. (Or as my grandmother used to say as she tossed a few pinches of the nearest spice into the pot on the stove: “What do you mean how much? I don’t know how much. THIS much!!”)
Pork butt, 3-4 lbs.. I use local farmers Hickory Nut Gap out of Fairview, NC.
1 16 oz. jar of salsa verde from Smoking J’s Fiery Foods, another local favorite.
4 cans Hatch diced green chiles, 2 each of mild and hot.
1 head garlic, chopped. (Yes, “head.” I sometimes use even more. Spice it up! It’s good for you!)
1 yellow onion, chopped.
1 cup or so broth. I make my own bone broth, but any chicken broth will do.
Olive oil. Cumin (I use 1 TBSP, then taste.) Oregano (I use at least 2 TBSP, but that’s me.) Salt, pepper…to taste, of course.
Wanna kick things up? Add a half cup sliced jalapeños.
My favorite—easy— way to do this is in a pressure cooker: (But a slow cooker is also fine.)
Salt and pepper the pork.
Cover the bottom of the pressure cooker in oil, and sauté the pork until brown on the outside. You can also brown in a pan if you must. Doing everything in one pot—pressure, slow cooker, whatever—means you keep all the juices and fat. LOTS of fat. Why keep the fat? Fat is tasty. That’s why.
Dump in everything else. No need for ceremony or any particular order.
Pressure cook on low for 3 1/2 hours. Let steam release naturally. OR, slow cook on high for at least six hours.
The meat should come apart very easily with only a fork. If the pork was particularly fatty, you may wish to spoon off some of the fat at this stage OR, refrigerate and scrape it off once it solidifies.
Serve over rice. Garnish with sour cream, cilantro, or whatever else floats your culinary boat. Add sharp cheddar and mix it up for a tasty, warm tortilla chip dip.